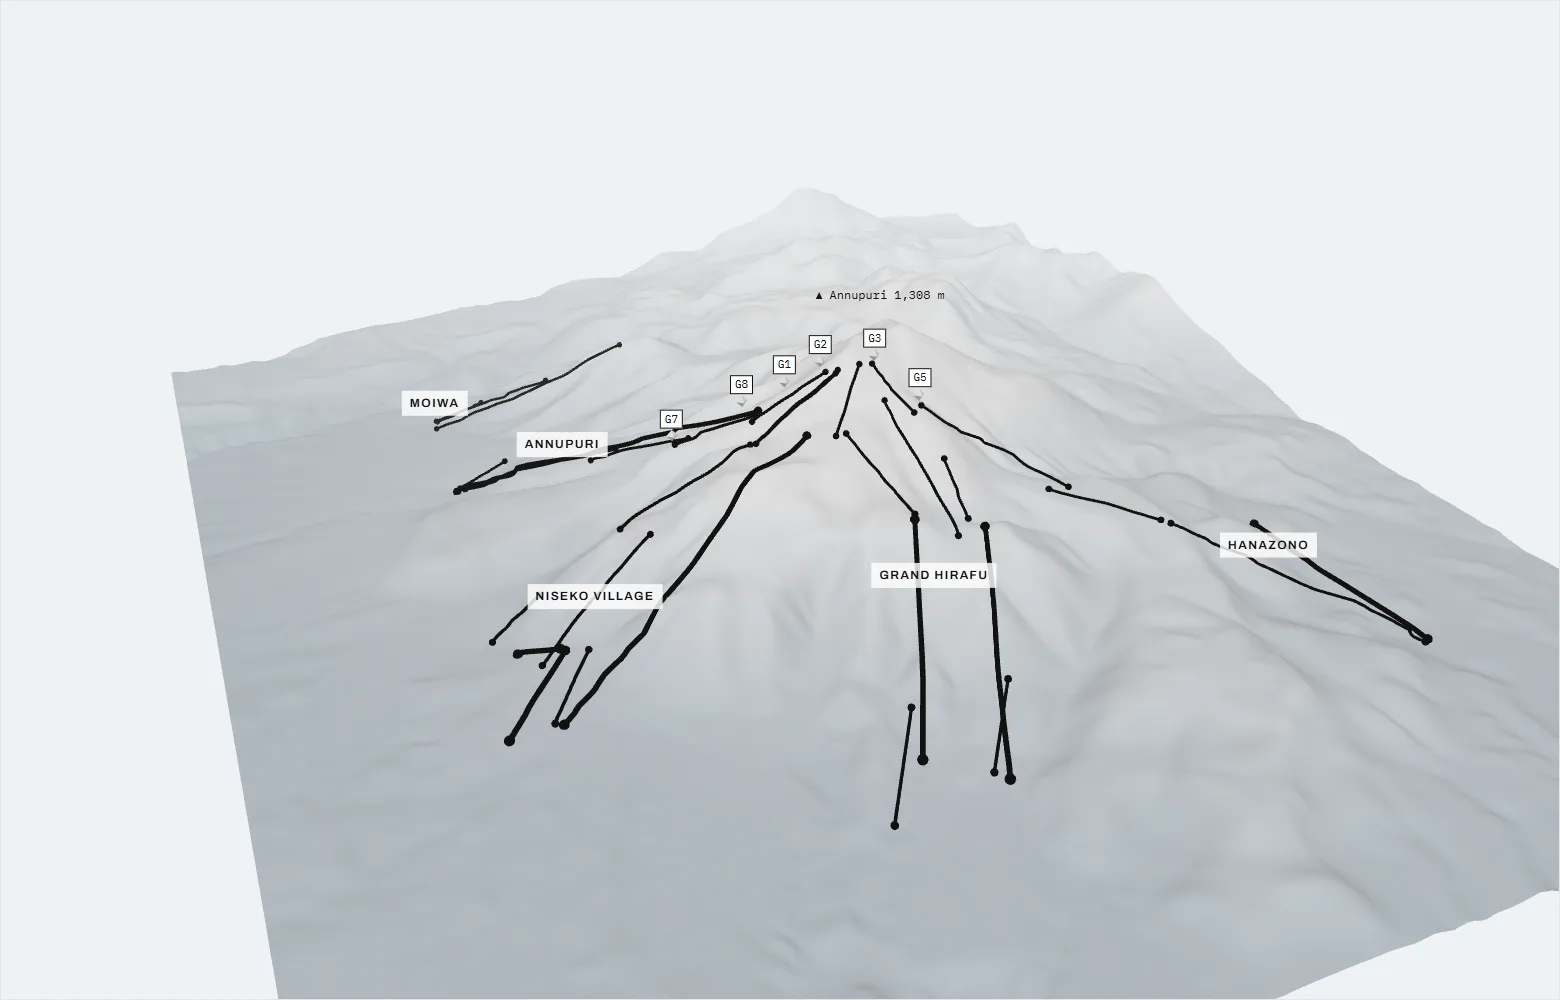
Each line is a lift (thick for gondolas): the circle is the bottom station, the code sits at the top. ◆ marks a backcountry gate. With live status, open shows green, on hold orange dashes, closed grey dots.
Route finder
Which lifts to take
A suggested order of lifts, worked out from where each lift starts and finishes. Some runs between lifts are advanced: check the official trail map and the signs on the mountain, and take extra care in poor visibility.
◆ G3Hirafu Peak gatehikeTop of King Lift #4; the busiest route to the summit · 1180 mKnow before you go
Know the hazards of Higashi-One, the North Face and the Back Bowl before you go. Avoid in strong wind or poor visibility.
–
◆ G4Fujiwara gateNext to G3 at the top of King Lift #4, heading towards the Hanazono side (some guides list it under Hanazono) · 1180 mKnow before you go
Usually opens about an hour after G3. Take great care traversing Higashi-One; never enter Fujiwara-no-sawa when it is closed.
◆ G6Moiwa Peak gatehikeJust off the top lift at Moiwa · 800 mKnow before you go
Access to Mikaeri-no-sawa, the Annupuri west face and the Goshiki Onsen area. Don't drop too low or you'll be stuck on the flats.
–
◆ G10Anbetsu gateMoiwa, into Anbetsu Creek · 760 mKnow before you go
Deep snow and a cliff at the valley bottom. Go too far down and it's hard to get back; expect to push or skate to the lift.
–
Gates and the Niseko Rules
Niseko's backcountry is reached only through gates on the ski area boundary. The Niseko Rules, agreed by all the resorts, exist to keep people alive in deep snow and avalanche terrain.
Leave the ski area only through a gate that is open.
Never duck a rope or enter closed areas such as Haru no Taki.
Gates close when the avalanche danger is high.
Carry a beacon, shovel and probe, and never go alone.
Read the Niseko Avalanche Information every morning before you go.